


When you’re budgeting for a bathroom remodel, start by setting a realistic range and adding 10–20% for surprises. Then prioritize the essentials: fix any plumbing leaks ASAP and upgrade ventilation so humidity drops fast. Next, refresh the look cheaply with moisture-ready paint, re-grout, and recaulk before you buy decorative upgrades. Choose efficient, WaterSense fixtures and LED lighting for daily value. Plan permits early, budget time for inspections, and match DIY work to safe tasks so your results stay worth it—keep going to learn the details.
Set a Bathroom Remodel Budget (and Allocate It)
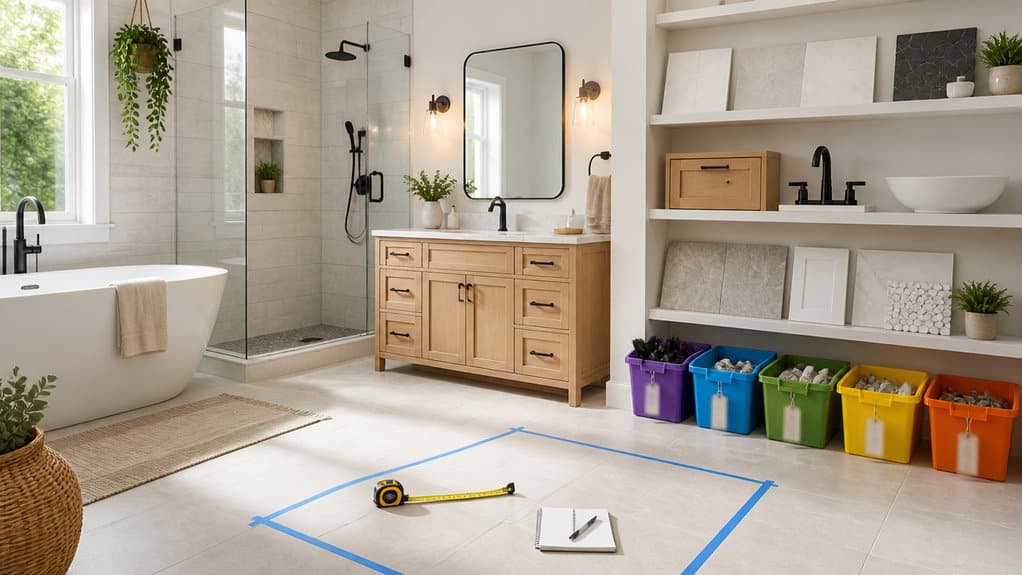
Start by setting a total range: midrange U.S. projects usually run $10,000–$25,000, while upscale jobs often exceed $30,000. Use budget estimates tied to your home value, and try to avoid spending more than 3–5% unless resale demand supports it.
Set a realistic budget: midrange bathroom remodels run $10,000–$25,000, while upscale jobs often exceed $30,000.
Add a contingency of 10–20% for surprises like rotten subfloors, hidden mold, or outdated wiring. Factor in local market multipliers, which can raise costs 10–40%, and confirm pricing with early contractor quotes.
Then create clear cost breakdowns: plan for 40–65% labor, 35–60% materials, plus design, permits, disposal, and a 15–25% allowance for any structural, electrical, or plumbing upgrades. Planning a remodel is essential to align expectations with the realities of contractor timelines and permitting requirements.
Fix Plumbing Leaks and Upgrade Ventilation First
You should detect hidden plumbing leaks early by doing a water-meter test, checking under sinks and around toilets, and using moisture meters or infrared to spot problem areas you can’t see.
Once you find leaks, you’ll prevent subfloor rot and mold by repairing the exact source—often from supply-line fittings, shower cartridges, or slow joint failures.
Then upgrade your bathroom exhaust fan so humidity drops quickly after showers, which keeps moisture below harmful levels and protects tile, grout, and paint.
Quality of service for homeowners seeking reliable remodeling and preventive maintenance can further support timely interventions and long-term durability in any bathroom project.
Detect Hidden Leaks Early
Why wait for a bathroom “mystery odor” or a soft spot on the floor when you can catch hidden plumbing leaks early?
Start with visual inspections for stains, peeling paint, warped flooring, or persistent damp smells.
Then run a water meter isolation test, shutting off all fixtures and watching for continued movement.
Use moisture meters and infrared thermal imaging to pinpoint unusual moisture behind finishes.
For toilets and tubs, do dye testing to confirm slow leaks.
If you suspect in-wall pinholes, choose acoustic testing and pressure testing for precise location.
This leak detection approach supports early intervention, so you can do repair prioritization before mold prevention becomes expensive.
Remember: undetected leaks waste water, trigger mold in 24–48 hours, and can cause 2–10× structural damage without plumbing maintenance.
Early detection aligns with our comprehensive bathroom remodeling approach, ensuring professional craftsmanship and high-quality materials are applied when addressing leaks and upgrades.
Upgrade Exhaust Fan Ventilation
Once you find and fix hidden leaks, you can upgrade bathroom exhaust fan ventilation with far better results. The fan’s job is to remove humidity and airborne byproducts—not to compensate for constant wetting behind walls. During showers, bathroom humidity can hit 70–100%, feeding mold within 24–48 hours, so prioritize airflow and control. Use proper sizing to meet code: many bathrooms need about 50 CFM intermittent or 20 CFM continuous. Then boost exhaust fan efficiency with quieter, ENERGY STAR models and smart ventilation features like humidity sensors and timers. Also plan ducting correctly, with smooth short runs and exterior termination plus a backdraft damper. Size CFM by bathroom volume. Target ≤1.0 sone noise. Choose ENERGY STAR + sensors. Use exterior metal ducting. Mold Prevention is a critical consideration when upgrading ventilation and addressing hidden leaks to ensure a healthier bathroom environment.
Refresh the Look Cheaply: Paint, Re-grout, Caulk
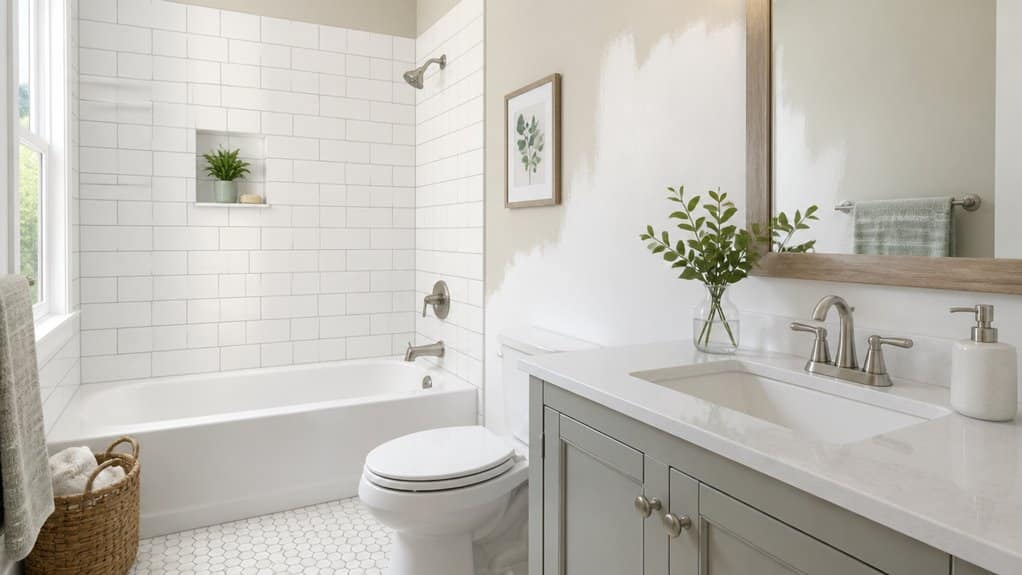
To refresh your bathroom cheaply, start with mold-resistant bathroom paint by using a moisture-ready primer and choosing satin or semi-gloss so the finish wipes clean and resists mildew.
Next, re-grout and re-caulk any cracked or missing lines, since water intrusion through bad grout can lead to mold and substrate damage.
If you prep properly—clean, dry, and match the grout and caulk to joint width and wet areas—you’ll get a look that holds up without a major remodel.
Additionally, consider selecting water-efficient fixtures to reduce long-term operating costs while maintaining style and function. eco-friendly materials and fixtures can enhance sustainability without a full renovation.
Mold-Resistant Bathroom Paint Options
When you refresh a bathroom on a budget, the right mold-resistant paint choice can make a noticeable difference.
Start with smart surface preparation: remove growth, scrub clean, and let everything dry fully. Then pick your topcoat type. For most walls, choose acrylic latex with mildewcide additives for breathable moisture release and strong scrub resistance.
If humidity is extreme, epoxy modified paints add extra moisture and chemical resistance. For hairline cracks or shifting substrates, use 100% acrylic elastomeric coatings. Use anti microbial formulations as inhibitors, and rely on primer systems for a stronger barrier, especially on porous areas.
- Clean and dry completely.
- Match sheen: semi-gloss/high-gloss in wet zones.
- Follow application best practices for film thickness.
- Plan two coats over a mold-killing primer.
Re-grout And Re-caulk Tile
Re-grout and re-caulk tile to refresh the look cheaply while restoring moisture protection at the same time. You’ll get major aesthetic impact when you address cracked or discolored joints, often the biggest bathroom refresh complaint.
Start with surface preparation: remove failing grout/caulk completely, then clean and dry for 24–72 hours, so new material bonds well. Match your grout color for visual continuity, and choose sanded or unsanded grout based on joint width; epoxy grout resists stains but costs more and takes more effort.
For caulk types, use 100% silicone in wet seams, acrylic-latex if paint coverage matters, or a hybrid for balance. Apply with solid application techniques, correct joint geometry, and tool smoothly for strong moisture protection and longer tile longevity.
This cost comparison often keeps materials under $200 instead of $1,000+ replacement.
Pick Materials That Fit Your Bathroom Remodel Budget
- Porcelain tile vs LVP
- Quartz vs laminate
- Waterproof wall panels vs acrylic
- Sealing for concrete/wood
Choose Efficient Fixtures and Lighting for Daily Value
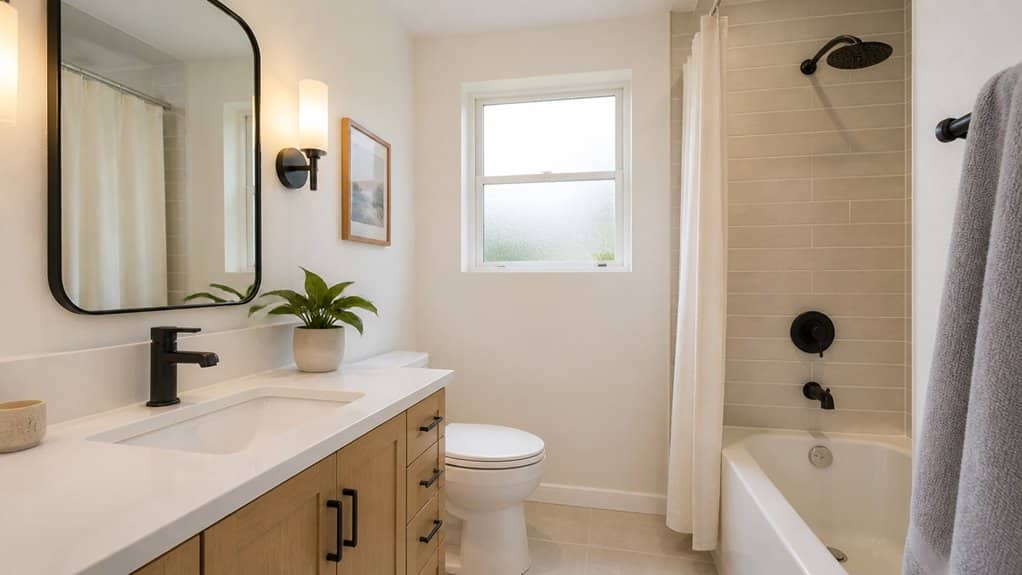
To get daily value from your bathroom remodel, focus on fixtures and lighting that save water and energy without sacrificing comfort.
Start with water saving fixtures: install EPA WaterSense-labeled showerheads and faucets, so you use about 1.5 gpm or less instead of older 2.5–5.5 gpm models. You’ll cut waste fast, and many low-flow showerheads pay back in 1–3 years.
Add thermostatic or pressure-balancing valves to keep the temperature steady while reducing wasted warm-up water. Choose durable ceramic disc faucets to prevent leaks, since leaks can waste 10–30% of indoor water.
For lights, use energy efficient lighting like LEDs, which use 75–80% less power and last far longer. Add dimmers and wet-rated fixtures near showers.
Plan Permits, ROI, and DIY vs Pro Work Wisely
Planning your permits, estimating ROI, and choosing the right amount of DIY versus professional help can make or break a bathroom remodel.
Start by checking permit processes early: moving plumbing, adding electrical circuits, or changing walls often triggers permits, and approvals can take days to months. Budget about $100–$2,000 plus 1–6 extra weeks for fees, plan prep, and inspections.
Next, use ROI strategies: minor updates often recoup ~70%–80%, while midrange remodels can return ~60%–70%. Avoid over-customization beyond neighborhood norms.
Finally, match DIY to safe tasks, like painting and re-caulking, but hire pros for major plumbing, electrical beyond swaps, waterproofing, and structural work.
- Permits: confirm thresholds
- Costs: plan extra time
- ROI: target market comps
- DIY: reduce risk, not quality
Wrapping It Up
As you plan your budget-conscious bathroom remodel, keep your priorities in order, and you’ll get the most return for your effort. Start by setting a real spending limit, then handle the “not-so-fun” fixes like leaks and ventilation, before you chase a nicer look. Use affordable upgrades—fresh paint, re-grout, and new caulk—then invest selectively in fixtures and lighting. Finally, weigh permits, ROI, and DIY versus pro help, so the project stays steady and worthwhile.
